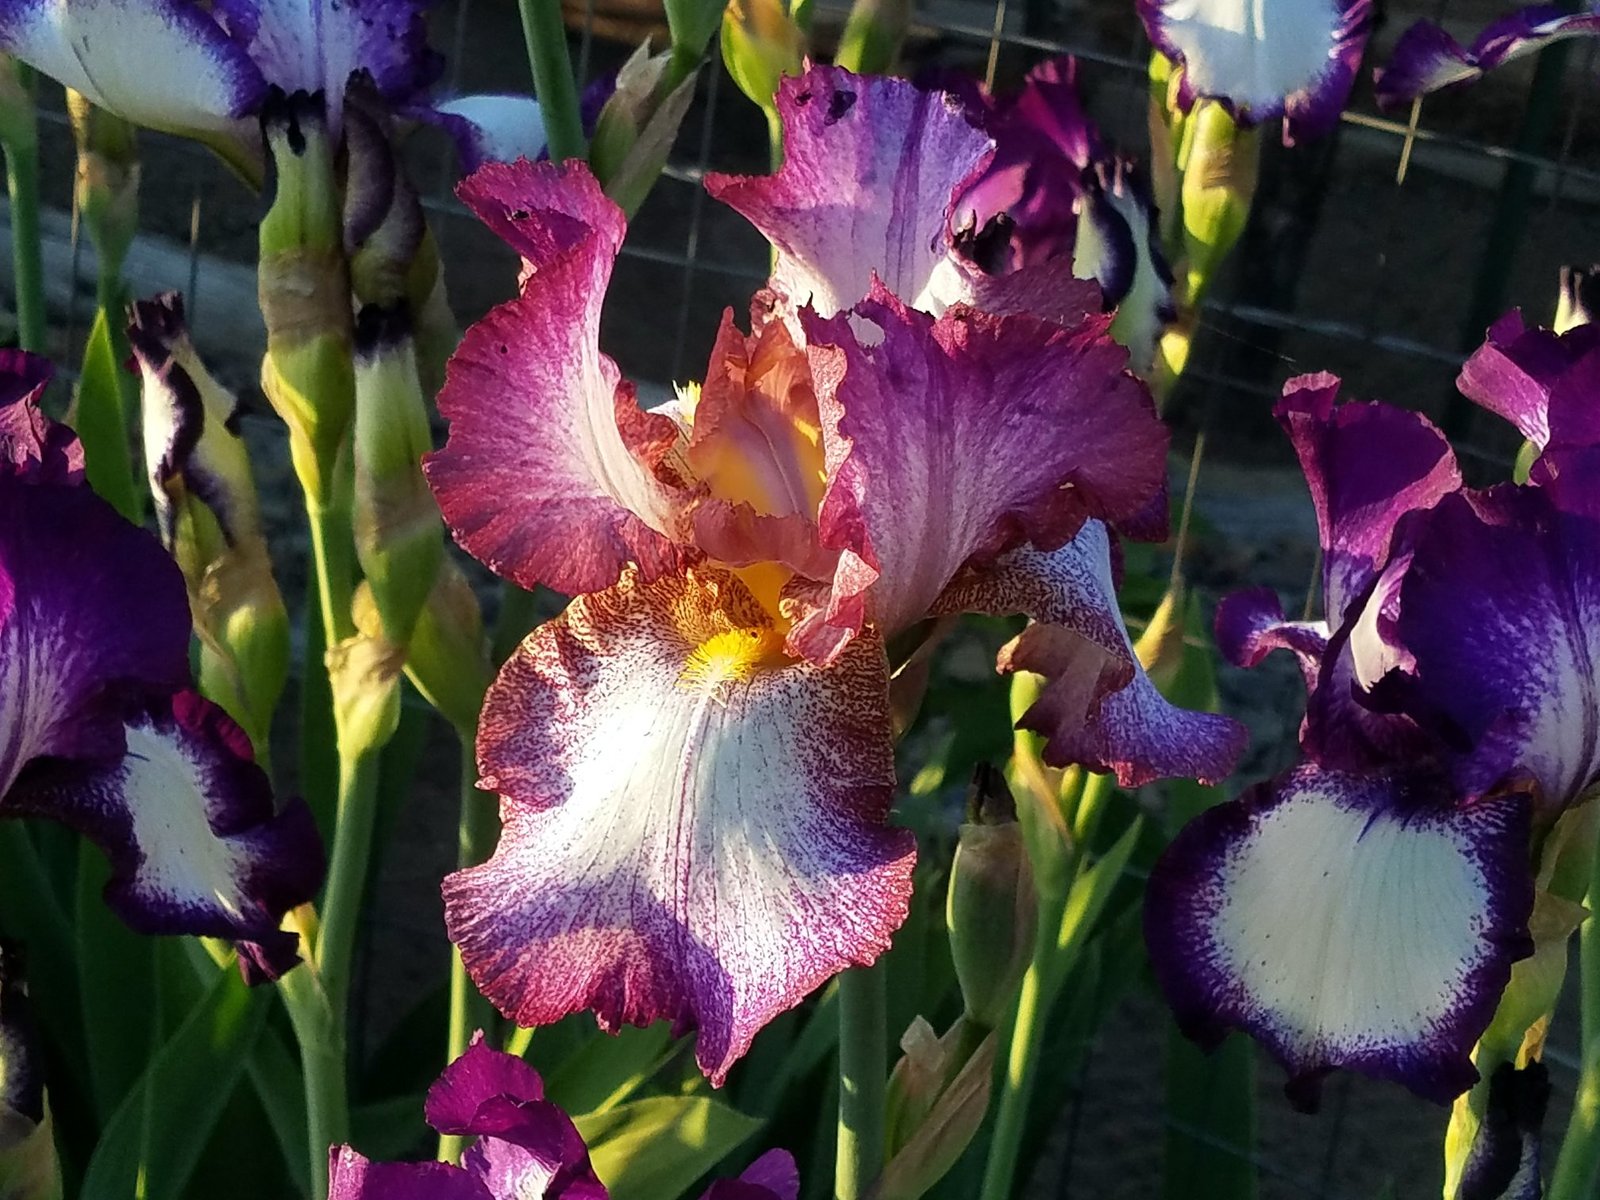
Bearded irises are beautiful and hardy perennials that can thrive in a variety of garden conditions. If you want to multiply your blooms or share them with friends, propagating bearded irises by division is a simple and effective method. Follow these easy steps to divide and propagate your bearded irises.
Step 1: Choose the Right Time to Propagate
The best time to propagate bearded irises is during their dormant season, which is typically in late summer to early fall, after the blooming period has ended. Dividing at this time allows the plants to establish roots before the first frost. You can also divide them in early spring before new growth begins.
Step 2: Prepare Your Tools
To divide bearded irises, you’ll need the following tools:
- A sharp garden knife or spade
- Garden gloves
- A trowel or digging fork
- A clean container (for storing divisions if you’re not replanting immediately)
- A watering can or hose
Step 3: Dig Up the Iris Clump
- Loosen the soil around the iris clump with a trowel or digging fork. Insert the fork several inches away from the plant to avoid damaging the rhizomes.
- Lift the clump carefully from the ground, making sure to get as many of the rhizomes as possible.
- Shake off excess soil and inspect the rhizomes. You may need to trim the foliage back to around 6 inches to make handling easier.
Step 4: Separate the Rhizomes
- Examine the rhizomes carefully. Healthy rhizomes should be firm, plump, and free from disease or rot. If any rhizomes show signs of damage, discard them.
- Use a sharp knife or spade to cut the rhizomes apart, ensuring each division has at least one healthy fan of leaves and roots. Typically, you’ll want to divide the clump into sections that have 1-3 fans of leaves, as these will have the best chance of thriving.
- Make sure that each division has a portion of the rhizome with healthy roots attached.
Step 5: Prepare the New Planting Area
- Choose a sunny location for your new iris plantings. Bearded irises prefer full sun (at least 6 hours of direct sunlight per day).
- The soil should be well-drained, as irises do not like to sit in wet conditions. If your soil is heavy, you can improve drainage by adding sand or organic matter.
- Dig a hole large enough to accommodate the rhizome. The hole should be shallow—no deeper than 1-2 inches—since irises like their rhizomes to be near the soil surface.
Step 6: Plant the Divisions
- Place the rhizome in the prepared hole with the roots spread out and the fan of leaves facing upward. The top of the rhizome should be just slightly above the soil line, with the roots buried below.
- Space the irises about 12-18 inches apart to allow for growth.
- Backfill the hole gently with soil, patting it down lightly to remove air pockets, but avoid burying the rhizome too deep.
Step 7: Water the New Plants
- After planting, give your new iris divisions a thorough watering to help them settle into the soil. Be sure not to overwater, as soggy soil can lead to rot.
- Mulch lightly around the base of the plant to help retain moisture and control weeds, but keep the mulch away from the rhizome itself.
Step 8: Care for Your New Iris Plants
- Monitor the plants for the first few weeks to ensure they establish well. Water them as needed, especially if the weather is dry, but let the soil dry out between waterings.
- Bearded irises don’t require a lot of fertilizer. A light application of balanced fertilizer in the spring can promote healthy growth, but avoid heavy feeding, as it can lead to weak growth.
- Keep an eye on the plants for pests like aphids or iris borers. Regularly remove any dead foliage to prevent disease.
Step 9: Wait for Blooms
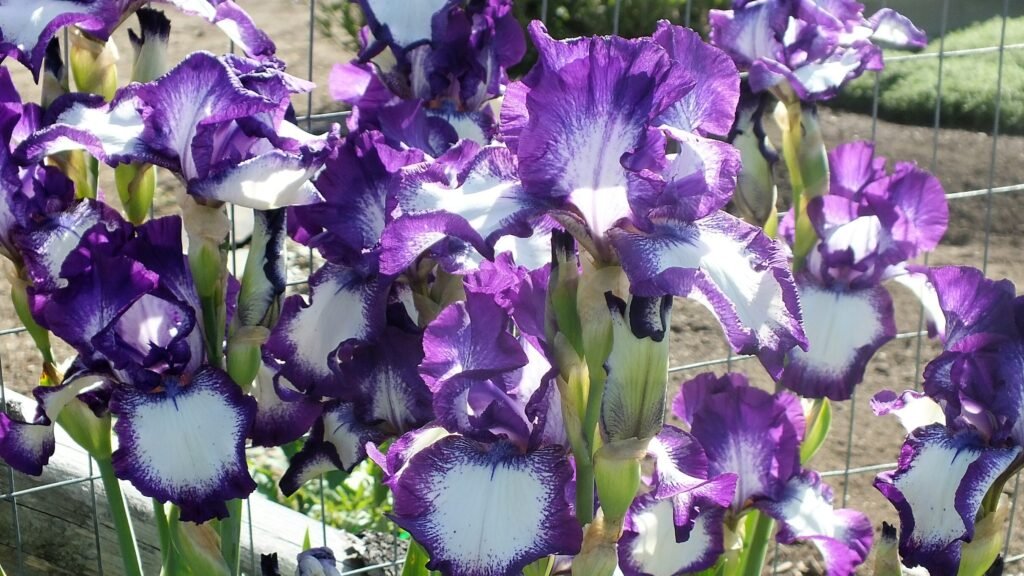
Once your newly propagated irises are established, they will reward you with vibrant blooms. It may take a season or two for newly divided rhizomes to reach full blooming potential, but with patience, you’ll have a garden full of stunning bearded iris flowers.
By following these steps, you can easily propagate and multiply your bearded iris plants, enjoying more blooms year after year. Remember to divide them every 3-4 years to keep your irises healthy and to ensure continuous blooms throughout your garden. Happy gardening!