Skip to content
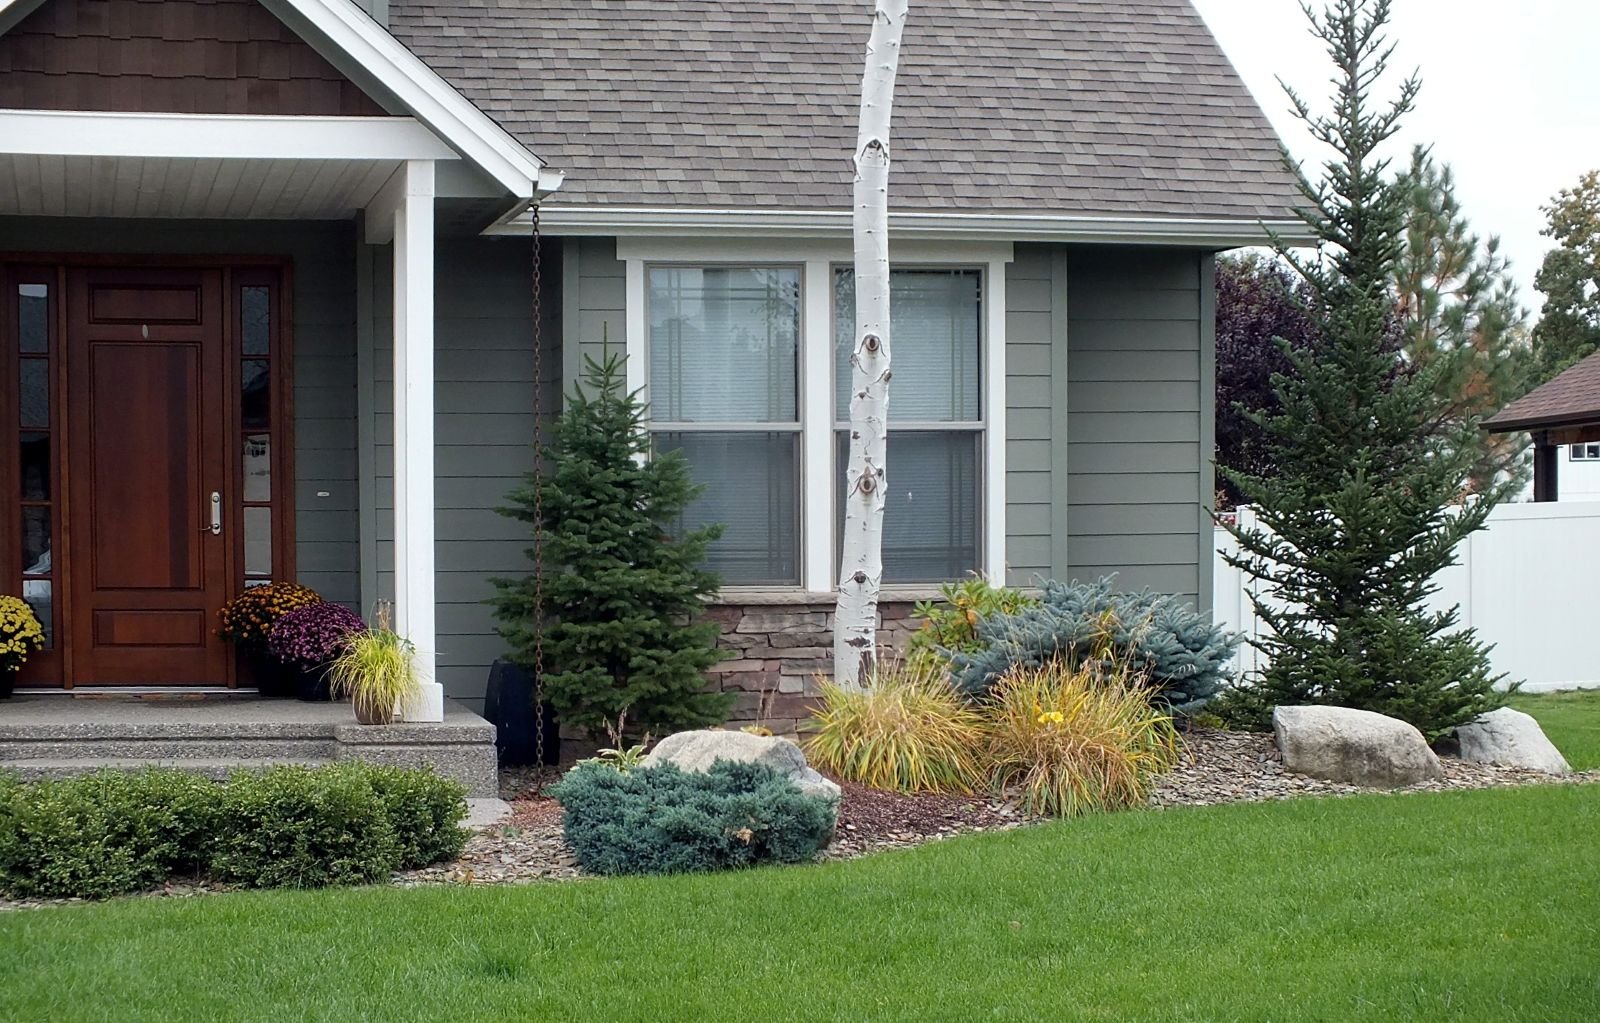
WoodStone Decorative Rock can enhance the beauty of your yard by adding texture, color, and a natural element to your landscaping. Installing WoodStone properly ensures that your outdoor space looks great while being durable and low-maintenance. Follow these simple steps to install WoodStone rocks in your yard.
Materials & Tools You’ll Need:
- WoodStone Decorative Rock groundcover
- Shovel
- Landscape fabric
- Edging material (e.g., plastic, metal, or stone edging)
- Rake
- Wheelbarrow (optional for moving rocks)
- Gloves
- Garden trowel
- Hand tamper or plate compactor (for leveling the ground)
- Hose (for watering)
- Optional: Decorative border (if using additional border materials)

Step 1: Plan Your Design
Before you start digging, plan out where you want to install the WoodStone. Consider the overall layout of your garden or yard, keeping in mind the areas where you want to add a decorative touch. You can use a garden hose or chalk to outline the boundaries of the area where you’ll be placing the rocks.
- Tip: Think about contrast and how the color and texture of the WoodStone rock will complement other elements in your yard, such as plants, trees, or paths.

- EXTREMELY FLEXIBLE – All weather flexibility
- EXTREMELY DURABLE – Abrasion resistant outer cover and crush resistant anodized aircraft aluminum fittings
- HYBRID POLYMER – Won’t kink under pressure, coils easily and lays flat with zero memory
- LIGHTWEIGHT – Lighter than traditional garden hoses making Flexzilla easier to carry and maneuver around the yard
- LEAK FREE CONNECTIONS AND DRINKING WATER SAFE – A durable O-ring provides long lasting leak free connections and feature an inner tube material that is drinking water safe
- Spray nozzle not included
- Color: ZillaGreen
Remove any existing grass, weeds, or debris from the area where you’ll be installing the rocks. Use a shovel to dig up the grass and weeds, and make sure to clear out all vegetation, as it can grow through the rocks over time.

Multi-Purpose Use – Perfect for cleaning chicken coops, edging, gardening, transferring gravel, and even removing ice in winter.
Square Spade Head – Designed for efficient scooping and easy cleanup.
Compact & Portable (41″) – Fits easily in a car trunk, great for camping or emergencies.
Lightweight (3.3 lbs) – Sturdy yet easy to handle with a solid wood grip for comfort and balance.
Reliable Quality – KOLEIYA offers professional support for any product inquiries.
Once the area is clear, use a hand tamper or plate compactor to level the soil. This ensures that the surface is flat and compacted, creating a stable base for the rocks. If the ground is uneven, consider adding a layer of crushed stone or gravel to improve drainage and stability.

Step 4: Install Landscape Fabric
Spread landscape fabric over the prepared area to prevent weeds from growing through the rocks. This fabric also helps with drainage and reduces the need for future maintenance. Cut the fabric to fit the shape of the area, and make sure it overlaps at the edges by a few inches to prevent gaps.
- Tip: Secure the fabric with landscape staples or pins to hold it in place.

WoodStone Pathway & Borders Edged With Repurposed Brick

Install edging around the perimeter of the area to keep the rocks contained and prevent them from spilling into your lawn or garden. You can use plastic, metal, or stone edging based on your desired look and budget. Secure the edging in place by following the manufacturer’s instructions.

No-Dig Lawn Edging – Easy to install without digging; perfect for DIY landscaping.
Versatile & Secure – Ideal for flower beds, with spiral spikes for stability in all weather.
Durable & Flexible – Made from recycled plastic, designed for straight or curved edging.
Low Maintenance – Withstands trimmers, temperature changes, and ground movement.
Complete Kit – Includes 100 ft. of edging and 64 anchoring spikes for extra support.
Now comes the fun part—adding the WoodStone Decorative Rock! Using a shovel and/or wheelbarrow, carefully pour the rocks over the landscape fabric, spreading them evenly across the area. Depending on the size of the area and the desired depth, you may need to use multiple bags or a large bulk quantity.
- STEEL TRAY WHEELBARROW: Durable, seamless steel tray with sloped, curved front for easy dumping and spreading of contents
- LARGE CAPACITY WHEELBARROW: Spacious 6 cu. ft. capacity ideal for hauling stone, gravel, dirt, pine straw, mulch, firewood & more
- STURDY DESIGN: Features rugged steel handles with comfort grips and heavy-duty undercarriage for rigorous use and tough jobs
- NEVER FLAT TIRE: Flat-free 4 x 8 in. tire design never needs air; Single tire design for balanced, stable movement on all surfaces
- SHIPS IN ONE BOX: True Temper Barrow in a Box design is shipped in one box; All hardware for quick & easy assembly included

Use a rake to spread the rocks evenly, ensuring they cover the entire area without any gaps. For a more natural look, you can arrange the rocks in a pattern or scatter them randomly. If you prefer a polished look, make sure to level the rocks carefully.
Sturdy & Reliable – Large rake head with secure riveted connection for serious gardening.
Heavy-Duty Build – One-piece stamped rake head with a fiberglass handle for durability.
Multi-Purpose Use – Perfect for clearing flower beds, leveling soil, and mulching prep.
14 Strong Teeth – 14-inch wide rake with 3.5mm thick tines for efficient soil penetration.
Lifetime Warranty – Contact us anytime for support and guaranteed satisfaction.

Lightly water the rocks using a garden hose to settle them into place and prevent shifting. This helps to compact the rocks and remove any dust that may be present.

Once the rocks are in place, enjoy your beautiful new landscaping feature! WoodStone rocks are low-maintenance, but occasional weeding may still be necessary to keep the area tidy. Ensure proper drainage to prevent water pooling and keep the landscape fabric intact.
By following these steps, you’ll create a stunning and durable landscape with WoodStone decorative rocks that will add value and beauty to your yard for years to come!