Skip to content
How to Grow Hollyhocks from Seed
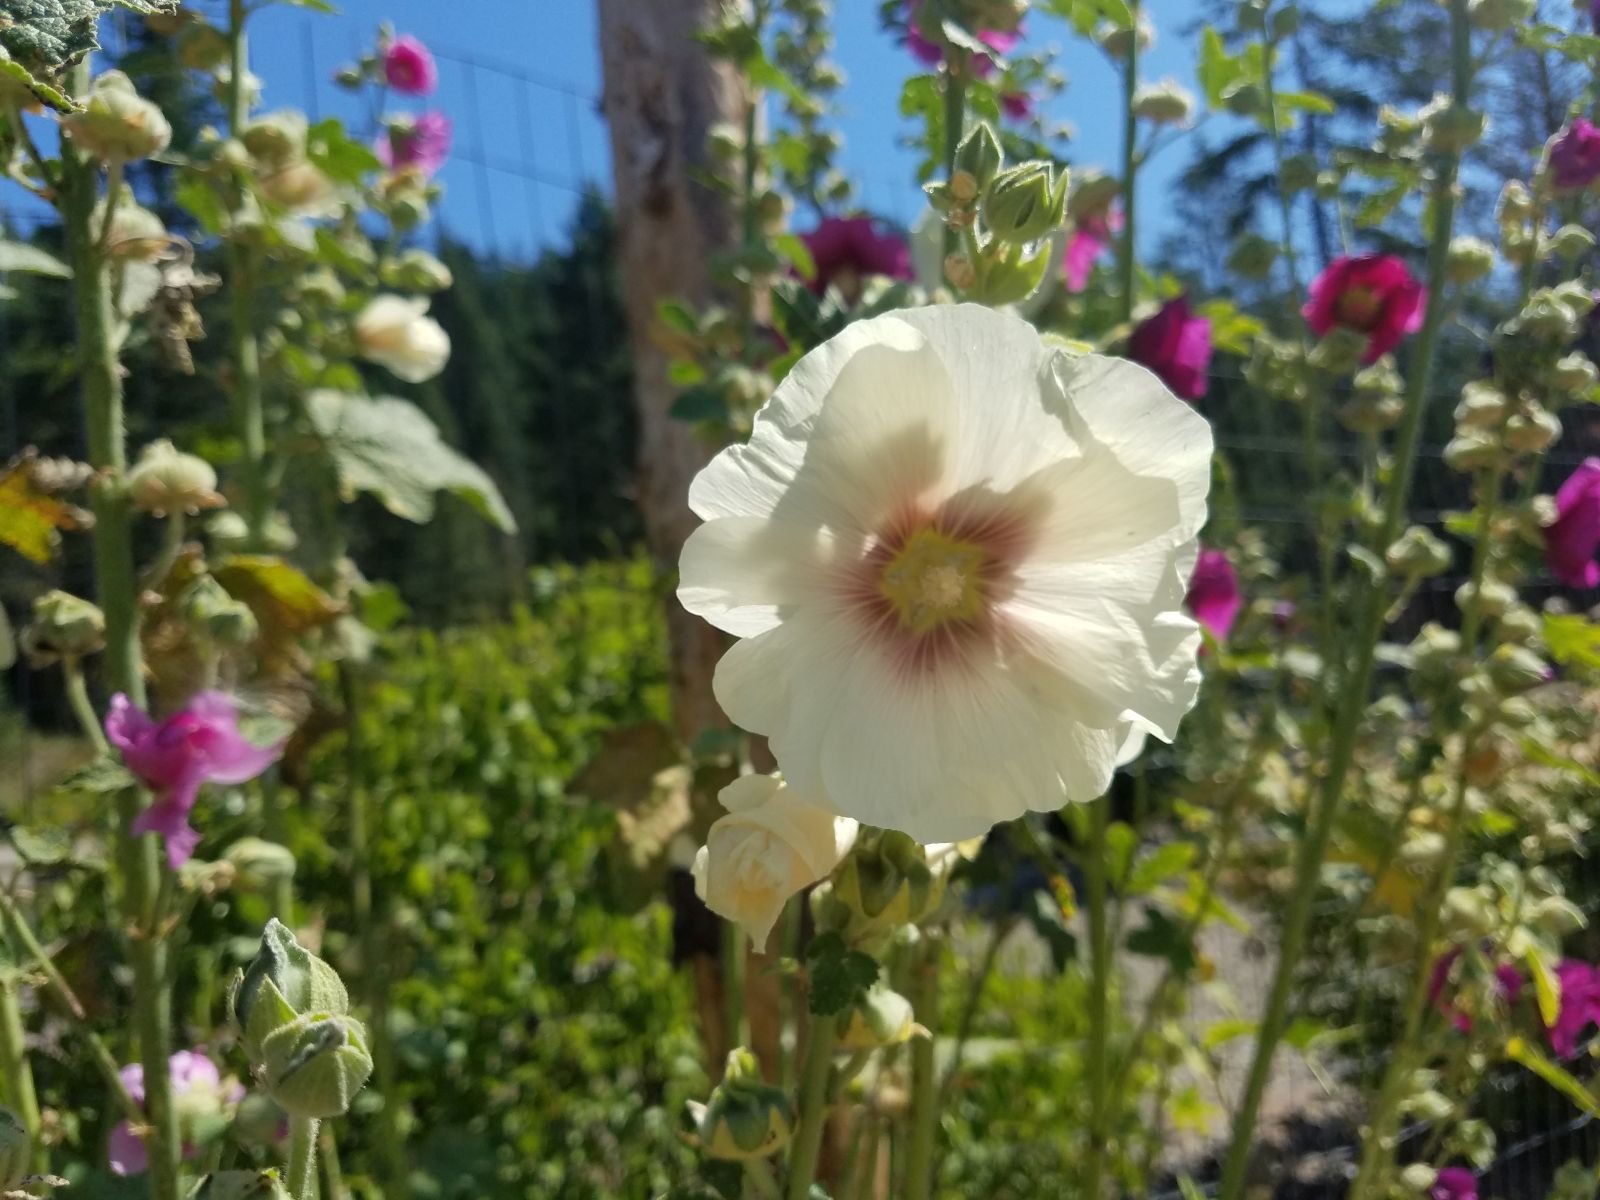
Hollyhocks (Alcea rosea) are beloved for their tall, striking spires of colorful blooms that add a touch of old-fashioned charm to any garden. Growing hollyhocks from seed is a rewarding process, and with the right approach, you can enjoy these beautiful flowers year after year. Follow this step-by-step guide to successfully grow hollyhocks from seed.
Step 1: Choosing and Preparing Your Seeds
Hollyhocks can be grown from purchased seeds or collected from existing plants. Choose high-quality seeds from a reliable source for better germination rates. If collecting seeds, wait until the seed pods have dried on the plant before harvesting.
Step 2: Selecting the Right Planting Location
Hollyhocks thrive in full sun and well-draining soil. They prefer locations with good air circulation to prevent rust, a common fungal disease. Because they grow tall (up to 8 feet), consider planting them along fences, walls, or garden borders for support.
Step 3: Sowing the Seeds
Hollyhocks can be sown directly outdoors or started indoors.
Outdoor Sowing:
Best done in late summer or early fall for blooms the following year.
Loosen the soil and scatter the seeds, lightly pressing them into the surface. Cover with a thin layer of soil (about ¼ inch).
Keep the soil moist until germination, which typically occurs in 10-14 days.
Indoor Sowing:
Start seeds indoors 6-8 weeks before the last frost.
Use seed trays filled with light potting mix.
Sow seeds ¼ inch deep and mist the soil to keep it damp.
Place trays in a warm location (65-70°F) with bright, indirect light.
Transplant seedlings outdoors after the danger of frost has passed.
Step 4: Caring for Hollyhock Seedlings
Once seedlings emerge, provide proper care to encourage healthy growth:
Watering: Keep the soil consistently moist but not waterlogged.
Thinning: Thin seedlings to 12-18 inches apart to allow good air circulation.
Fertilizing: Use a balanced, all-purpose fertilizer every few weeks to promote vigorous growth.
Step 5: Supporting and Maintaining Mature Plants
Staking: Tall hollyhocks may require staking, especially in windy areas.
Mulching: Apply mulch around plants to retain moisture and suppress weeds.
Rust Prevention: To reduce the risk of rust, avoid overhead watering and remove any affected leaves promptly.
Step 6: Enjoying and Collecting Seeds for Future Planting
Hollyhocks typically bloom in their second year. Deadhead spent flowers to encourage more blooms or allow seed pods to mature if you wish to collect seeds. Simply store dried seeds in a cool, dry place for future planting.
By following these steps, you can successfully grow hollyhocks from seed and enjoy their stunning display season after season!